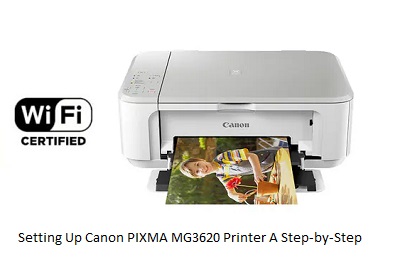
Setting up a printer can be a daunting task, especially for the uninitiated. With the Canon PIXMA MG3620, however, setting up is relatively straightforward. This all-in-one printer is renowned for its versatility and user-friendly setup process. In this step-by-step guide, you’ll learn how to set up your Canon PIXMA MG3620 printer with ease.

Canon PIXMA MG3620 Unpacking and getting started
Unpack the printer: Carefully unpack your Canon PIXMA MG3620. Check that all components are included, including the printer itself, ink cartridges, power cord, installation CD and instruction manual.
Remove the packaging materials: Remove all protective tapes, stickers and packing materials from the printer. Open the printer carefully, making sure that no stray materials obstruct the internal mechanisms.
Power Connection for Canon PIXMA MG3620
- Connect the power cord: Plug one end of the power cord into the printer and the other end into a wall outlet. Make sure the power source is compatible and provides a stable electrical connection.
- Installing the ink cartridge
- Open the ink cartridge compartment: Lift the top cover of the printer to access the ink cartridge compartment. The printer may automatically move the cartridge holder to the centre for easier access.
- Install the ink cartridges: Unpack the ink cartridges supplied with the printer. Carefully remove the protective tape. Insert the cartridges into their respective slots, matching the colour codes to ensure a secure fit. Close the cartridge compartment cover.
Loading paper
- Adjust the paper tray: Slide out the paper tray and adjust the guides to fit the size of paper you’re using. Make sure they hold the paper firmly to prevent misalignment during printing.
- Load the paper: Place the paper in the tray, making sure it’s aligned and not overloaded, Next Adjust the paper guides to fit the width of the paper for printer.
Canon PIXMA MG3620 Connecting to a computer or mobile device
- Wired connection (USB): If you prefer a wired connection, connect the printer to your computer using a USB cable. Make sure the cable is securely plugged into both the printer and the computer.
- Wireless connection: To set up the wireless connection, turn on the printer and access the printer settings from the control panel. Navigate to the wireless settings and select your Wi-Fi network. Enter your network password if prompted.
- Install the software: Insert the supplied installation CD or download the drivers and software from Canon’s official website. Follow the on-screen instructions to install the necessary drivers and applications on your computer or mobile device.
Canon PIXMA MG3620 Test Print
Print a test page: Once setup is complete, print a test page to make sure the printer is working properly. Send a simple document or image to print and check the output.
Additional configuration (optional)
- Printer settings: Explore the printer settings through the control panel or installed software. Adjust preferences such as print quality, paper size and other specific settings to suit your needs.
- Mobile Printing: Set up mobile printing options, if desired, to print from smartphones or tablets using dedicated apps or AirPrint (for Apple devices) or Mopria (for Android devices).
Canon PIXMA MG3620 Troubleshooting
- Consult the manual: If you encounter problems during setup or printing, check your manual for troubleshooting steps. Common problems such as paper jams or connectivity issues often have simple solutions outlined in the manual.
- Online support: If the manual doesn’t solve the problem, visit Canon’s official support site or contact Customer Support for further assistance.
Following these steps should help you set up your Canon PIXMA MG3620 printer efficiently, Remember, the key to a successful setup is to follow the instructions carefully and ensure that all connections are secure. With its versatile printing capabilities and easy setup, the Canon PIXMA MG3620 is an excellent addition to any home or office. Enjoy your printing experience with this reliable all-in-one printer!


