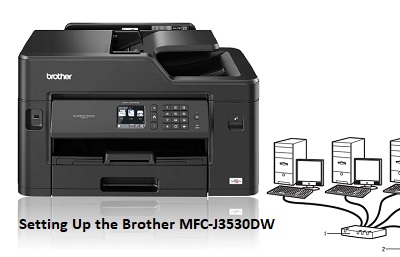
Setting up the Brother MFC-J3530DW: A step-by-step guide-The Brother MFC-J3530DW is a versatile all-in-one inkjet printer designed to meet the needs of home and small office users. With its robust feature set, it can handle a wide range of tasks, from basic printing to scanning, copying and faxing. But to get the most out of this multifunction printer, you need to set it up properly. In this step-by-step guide, we’ll walk you through the process of setting up your Brother MFC-J3530DW.

Setting Up the Brother MFC-J3530DW | Before you begin
Before you begin the setup For printer Brother Mfc-j3730 process, make sure you have the following items ready:
- Your Brother MFC-J3530DW printer.
- Power Cord.
- USB cable (for wired connection).
- A computer or mobile device with a web browser (for wireless setup).
- Ink cartridges.
- Paper for testing and regular use.
- A network with Wi-Fi access (for wireless setup).
Step 1: Brother MFC-J3530DW Unpack and Inspect
- Carefully unpack the Brother MFC-J3530DW and remove all packing materials.
- Inspect the printer and its components for any visible shipping damage.
- Make sure you have the User’s Guide and Setup CD that came with the printer.
Step 2: Brother MFC-J3530DW Install Ink Cartridges
- Open the ink cartridge cover on the front of the printer.
- Next, Insert to printer the ink cartridges into their respective slots, following the color-coded labels.
- Close the ink cover securely.
Next, Step 3: Power On
- Connect the power cord to the printer and plug it into a wall outlet.
- Turn on the printer by pressing the power button, usually located on the control panel.
Step 4: Initial Printer Configuration
- The printer will guide you through the initial setup process using the built-in touch screen display.
- Select your language, date, and time preferences.
- Follow the on-screen instructions to set your region and any additional preferences.
-
When the initial setup is complete, the printer will prompt you to load paper into the paper tray and align the guides for your paper size.
Next, Step 6: Wireless Connection
- To set up a wireless connection
- From the printer control panel, navigate to the Network or Wireless settings.
- Select your wireless network and enter your network password when prompted.
- The printer should now be connected to your wireless network.
Step 7: Brother MFC-J3530DW Install Printer Software
- On your computer or mobile device, insert the Setup CD or visit the Brother website to download the printer drivers and software.
- Next, Follow the on-screen instructions to install the necessary software and printer drivers.
Step 8: Test the Printer
- Print a test page to make sure the printer is working properly.
- Scan a document or photo to verify that the scanner is working properly.
- Make a copy to test the copier function.
Next, Step 9: Additional Configuration (Optional)
- You can further customize your Brother MFC-J3530DW by configuring settings such as duplex printing, adjusting print quality, or enabling mobile printing. Refer to the User’s Guide for more details on these features.
Step 10: Routine Maintenance
To keep your printer running smoothly, it’s important to perform regular maintenance tasks, such as cleaning the print head and replacing ink cartridges as needed. Refer to the User’s Manual for specific instructions on maintaining your Brother MFC-J3530DW.
In conclusion, setting up your Brother MFC-J3530DW is a straightforward process, whether you choose a wired or wireless connection. With this step-by-step guide, you can ensure that your printer is ready to meet your printing, scanning, copying and faxing needs. Regular maintenance and a solid understanding of the printer’s features will help you get the most out of this versatile all-in-one inkjet printer.


